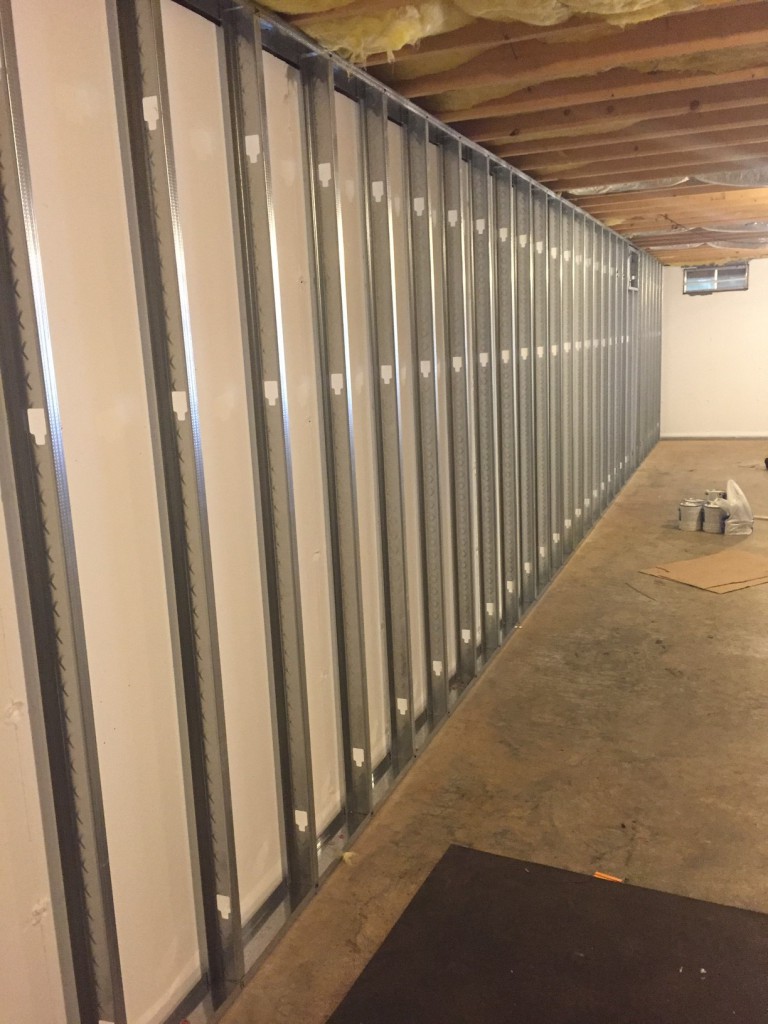
How To Paint Your Interior Foundation Walls

Most homeowners aren’t too interested in painting their interior foundation walls. Unless they intend on turning it into a “man cave” or other specialized room, it’s usually left in its original post-construction state. If you’ve been reluctant about painting your foundation walls, here are the steps you should follow to complete this interior painting job successfully.
Clean The Walls
Before you start any type of painting, you should make sure that the walls are totally clean. Given that basement walls are usually made of porous concrete that absorb grease, oil and dirt, it’s recommended that you clean them with trisodium phosphate or another solvent that can completely remove the grime.
Remove Old Paint
If your walls were previously painted, you’ll need to strip the old paint off. You’ll need a wire brush and paint scraper for this part of the job. Once the stripping is done, you’ll need to wash the walls thoroughly.
Seal The Concrete
Once again, since concrete is a porous surface that absorbs moisture, you don’t want to apply the paint or primer immediately like you do with other interior painting projects. You should first use a masonry sealer that can also be used to patch the cracks in the concrete.
Add Primer
Use concrete primer to fill in pores and smooth out the concrete. Primer dries within two hours, but it’s recommended that you wait at least a day before you start painting.
Start Painting
Now that all the prep work is done, you can get started with the exciting part of the project. The most important thing to remember is that you’ll need to use masonry paint as regular interior and exterior paint will crack and peel when used on concrete.
Painting the interior foundation walls brings several benefits which include preventing the growth of mold, preventing radon infiltration and limiting the loss of heat. Work with an experienced interior painting professional to ensure that the job gets done correctly the first time.
